Because Phamerator only runs on Linux, and because most labs and students have either Windows or Mac computers, we've created a Linux virtual machine to ease the process of getting Phamerator up and running in your classrooms. A virtual machine is like an entire computer and operating system that runs within an existing computer.
Here are the basic steps to getting the SEA-PHAGES Virtual Machine up and running on your computer:
- Download and install virtualization software, such as VirtualBox, VMWare, or Parallels.
- Download and unzip the appropriate SEA VM file from this page.
- Install the SEA VM using your virtualization software.
- Launch the SEA VM to make sure it's working.
- Install Guest Additions to make the VM work optimally with your host OS.
Details for each step are given below.
Before installing the SEA Virtual Machine, you'll need to have some sort of virtualization software installed on your computer. We recommend and give instructions for VirtualBox because it is free on either Windows or Mac. Other options include VMWare Fusion/Player and Parallels.
Click here to download VirtualBox for your computer.
Install it as you would install any program on your computer.
Now to get the SEA VM file itself. Click on the appropriate button below to download the proper file for your operating system. Because of software licensing, you will need to be logged in as a SEA-PHAGES faculty member to use the download links. If you are not a SEA-PHAGES faculty member, but are a SEA-PHAGES IT person or student, contact us to request the links.
NOTE: This is a large (~4.1 Gb) file, and may take a while to download depending on your connection. We strongly recommend you use a wired connection when downloading these files to avoid partial downloads. Once downloaded, the file can be moved to a flash drive and shared with students directly.
Login as faculty to download the Mac VM file
Login as faculty to download the PC VM file
Once the file has completely downloaded, you need to unzip it. The unzipped file size is about 11 Gb.
To unzip the file on Mac, simply double-click and wait for your Archive Utility program to unzip the file.
To unzip the file on Windows, first double-click to open the archive. Then click the Extract All Files button and choose a location for the extracted file.
After unzipping, move the file to a dedicated folder. A good place on either Mac or PC is a folder at /Users/[your_username]/VirtualBox VMs/.
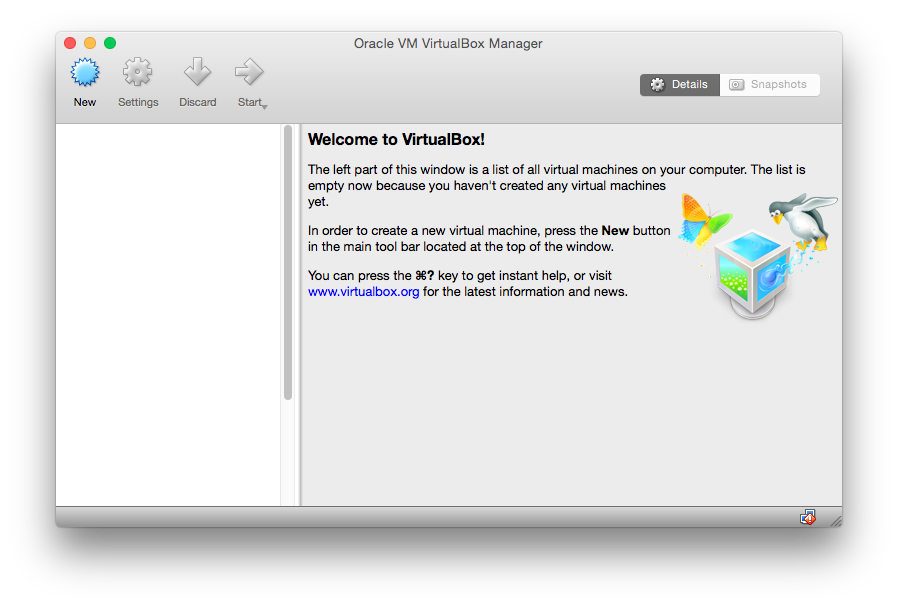
Open VirtualBox. Click the "New" button in the upper left corner.
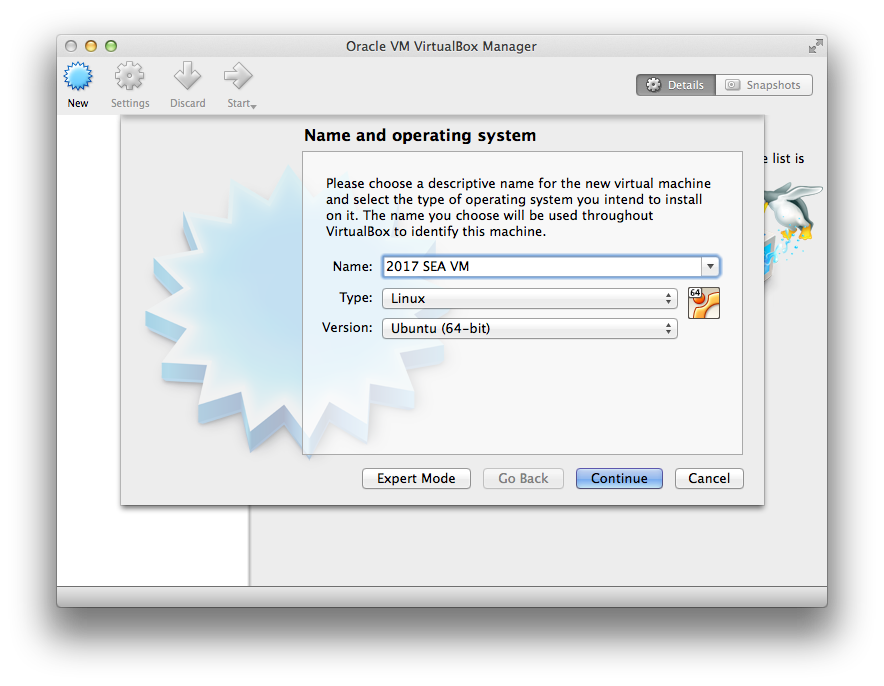
Choose and type a name for the virtual machine. For example, "2017 SEA VM."
Select "Linux" as the Type and "Ubuntu (32-bit) Ubuntu (64-bit)" as the Version. (Starting with the 2017 VM, the Ubtuntu version is 64-bit rather than 32-bit.)
CRITICAL NOTE: On some Windows systems, you may not see an option for Ubuntu (64-bit). If that's the case, please follow the instructions in this document to enable 64-bit virtualization.
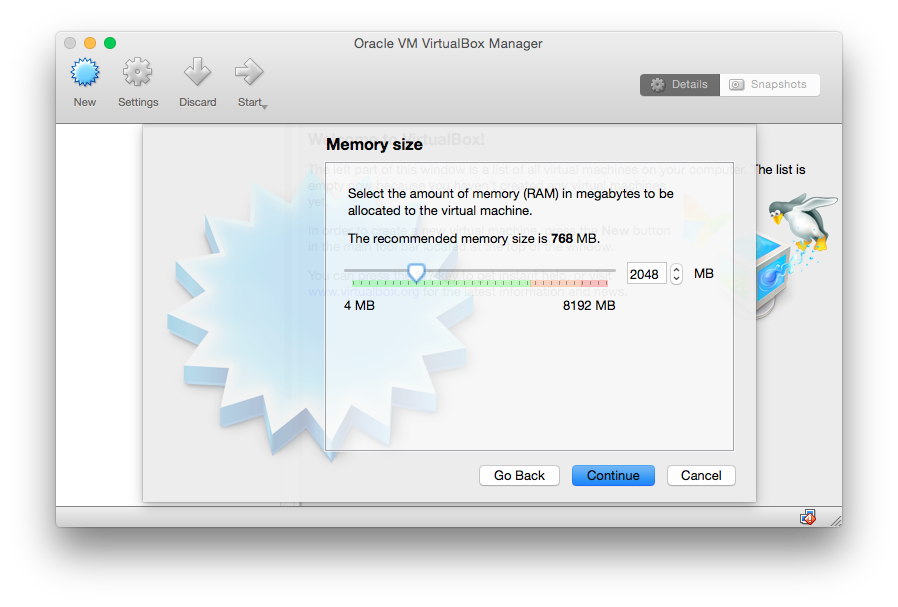
Select how much memory will be available to the VM. You should choose at least 1024 MB (1Gb), and we recommend selecting 2048 MB if your computer has 4 Gb or more of total RAM.
On the "Hard Disk" screen, select Use an existing virtual hard disk file, then click the small folder icon and navigate to the file you downloaded and unpacked (SEAVM_2017.vmdk).
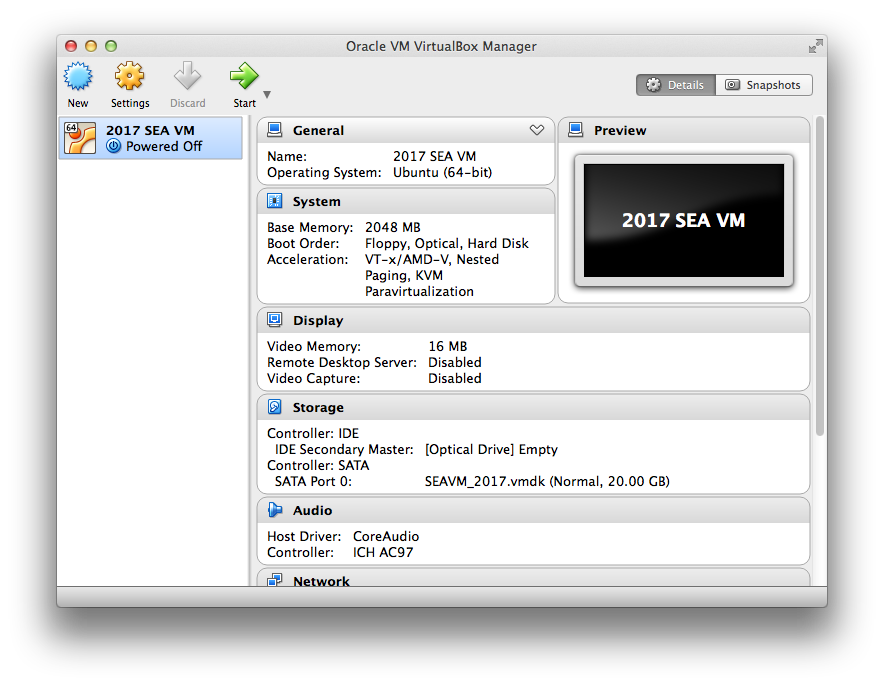
Click Create to install the VM.

If all goes well, you should see the newly created VM in the list on the left side of the VirtualBox window.
Open VirtualBox, select the virtual machine you created (e.g., "2017 SEA VM") from the list, then click start.
If all went well, the virtual machine should load and you should see a screen like the one below.
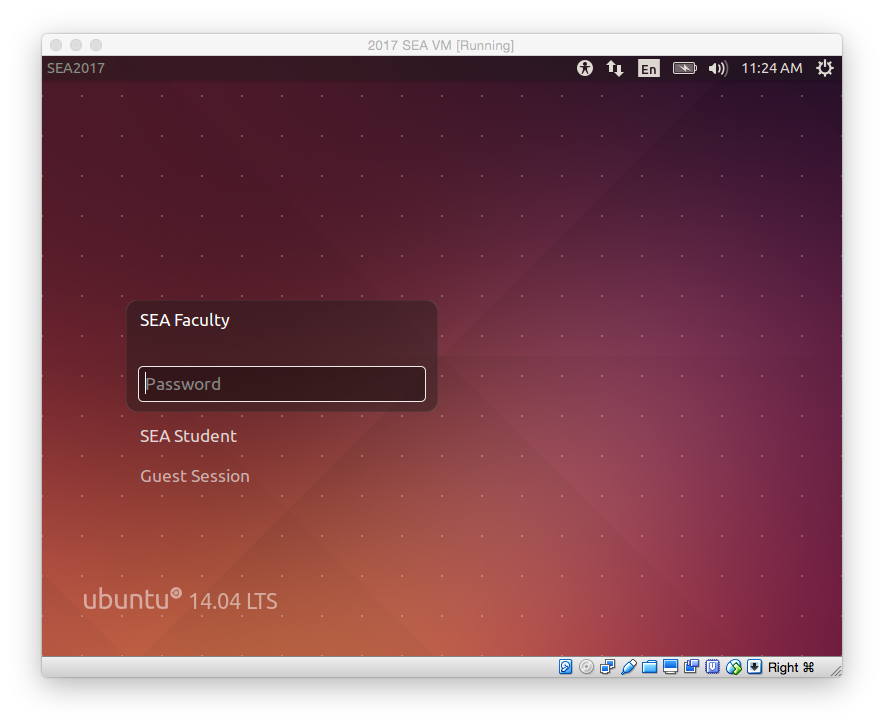
Enter the password for the account you wish to use. The list of passwords is below.
| Account | Password |
|---|---|
| seastudent | phamerator |
* The seaadmin account has been eliminated as of the 2017 SEA VM. The seafaculty account has full sudo privileges.
Guest Additions are software you can install winthin your virtual machine to make it work more seamlessly with your host operating system. Basically, it lets the VM "play nice" with the host OS, and allows smoother mouse interactions, window resizing, clipboard sharing, time syncing, and more.
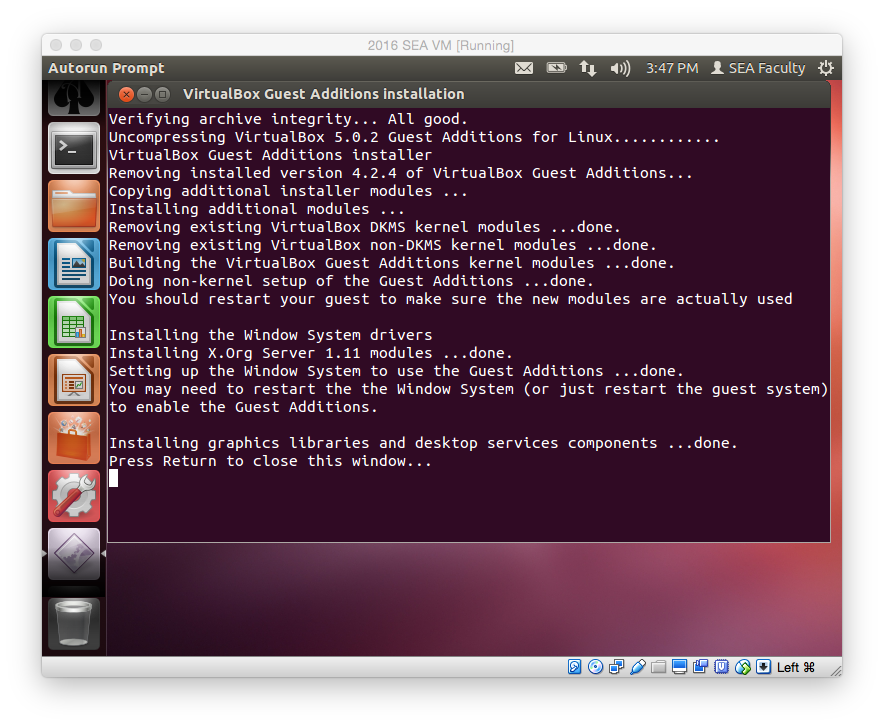
To install Guest Additions, log in to the seafaculty account on your SEA Virtual Machine, find the VirtualBox VM menu, and go to Devices→Insert Guest Additions CD Image...
You should see some activity within the VM in a terminal window. If prompted, enter the seafaculty password. When complete, you may see a success message in the terminal.
Shut down your virtual machine, then start it again to ensure the Guest Additions are installed.