Welcome to the forums at seaphages.org. Please feel free to ask any questions related to the SEA-PHAGES program. Any logged-in user may post new topics and reply to existing topics. If you'd like to see a new forum created, please contact us using our form or email us at info@seaphages.org.
Recent Activity
Mac errors
| Link to this post | posted 17 Sep, 2020 18:15 | |
|---|---|
|
|
Hi all I need help for student with Macs. They have errors I did not find through the forums yet. I've attached them in a document with their explanations. Thank you Tiara |
 243Kb
243Kb| Link to this post | posted 17 Sep, 2020 19:22 | |
|---|---|

|
Hi Tiara, There are basically two steps to getting DNA Master to work on a Mac. The first is getting a functioning version of Windows installed in VirtualBox. I think that's the problem with the first error in your document. The other errors are related to step 2, installing DNA Master, which will be impossible if you haven't completed step 1. For step 1 (getting Windows running) are you carefully following the instructions in this document? https://phagesdb.org/media/docs/InstallingWindowsOnMac.pdf –Dan |
| Link to this post | posted 17 Sep, 2020 19:29 | |
|---|---|
|
|
Hi Dan Yes, I asked them if they were following that document and they said yes. But I can't see it How fo they get a functional version of virtual box? Thank you for your prompt response |
| Link to this post | posted 17 Sep, 2020 19:37 | |
|---|---|
|
|
From the first screenshot, it looks like they have a working version of VirtualBox, but not a working version of Windows installed within VirtualBox. Here's the part of the document they need to follow carefully. 2. Download Windows 10 Note that the file you will download at this step can be quite large (~5 Gb) and you may want to connect via a wired connection or other fast internet before beginning. Ensure you have enough free hard drive space to download. a. Go to the Windows 10 download page https://www.microsoft.com/en-us/software-download/windows10ISO b. From the “Select Edition” menu, choose Windows 10. c. Click Confirm. d. If prompted, select “English” (or your choice of language) as the language and click Confirm. e. Select the 64-bit Download (unless you have a very old computer), and choose a location to save the file. (It should be a file ending with “.iso”.) We suggest keeping it in a designated location rather than a Downloads folder. For example, make a new folder on your Desktop called VMs. f. Wait for the download to complete before closing browsers or shutting off your computer. 3. Create a Windows virtual machine Now you will use VirtualBox to install a Windows “computer” on your Mac. a. From your applications folder, launch VirtualBox. b. Click the “New” button to begin creating a new virtual machine. 1. When prompted for a name, write something like “WindowsVM” or “Windows for SEA-PHAGES”. 2. For “Type”, make sure “Windows” is selected. 3. For “Version”, choose “Windows 10 (64-bit)”. 4. Click “Continue”. c. Select the amount of RAM to dedicate to your virtual machine. The higher the number, the faster your Windows machine will run, but it may also take resources away from your Mac side. We recommend a minimum of 2 Gb (2048 Mb) and a maximum of half the RAM of your Mac. (Stay in the green area.) 1. In the “Memory Size” panel, select an amount of RAM to dedicate to your Windows computer. 2. Click Continue. d. Set up your virtual hard drive. 1. Select “Create a virtual hard disk now”, then click “Create”. 2. Select “VDI (VirtualBox Disk Image)”, then click “Continue”. 3. Select “Dynamically allocated”, then click “Continue”. 4. Select a size for your Windows virtual hard drive. This will be the amount of space you have available inside your Windows “computer” to save files. We recommend a minimum of 15 Gb, with a preferred size of at least 20 Gb, as long as you have space on your Mac to hold it. 5. Click “Create”. e. Install Windows on your virtual machine. This step may take up to 30 minutes, so make sure you have time to do this uninterrupted. 1. Make sure your new machine (e.g. “WindowsVM”) is selected in the VirtualBox menu, and click “Start”. 2. It should prompt you to select a virtual optical disk. Click the small folder icon, navigate to the windows iso file you downloaded in Step 2, and select it. 3. Click “Start”. 4. Follow the prompts to choose a language and being the Windows installation. 5. When an “Activate Windows” box appears asking for a product key, click the link near the bottom that says “I don’t have a product key”. 6. Select “Windows 10 Home” if prompted. 7. Choose “Custom” rather than “Upgrade” from the installation type menu. Click “Next”. 8. Select your hard drive (should be only one option) and click “Next”. 9. Wait for Windows 10 to install. (This may take a while.) 10. Follow the prompts from “Cortana” to finish the Windows setup. You can select “Offline account” then “No” if you don’t want to input your email address or phone number. 11. Choose a user name and password for your Windows account. 12. Continue with Windows setup, answering questions as needed. 13. Eventually, you should be taken to your new Windows Desktop. 14. If your Mac is connected to the internet, your new Windows computer should be as well. Try opening a browser (Microsoft Edge, for example) and navigating to phagesdb.org. 15. Congratulations! You’re now running a Windows computer inside your Mac. NOTE that you should treat this “virtual computer” like a real computer. Don’t suddenly quit VirtualBox while your Windows machine is running. Instead, shut down Windows like you would your own computer before closing it. Sometimes, virtual machines have trouble if you just close your laptop while they’re running. We suggest shutting down Windows before closing a Mac laptop. Moreover, since running a whole second operating system requires a lot of resources, it’s best to only keep your Windows VM open when you’re actively using it. Shut it down when you won’t need it for a while and it’ll save on RAM and battery life. |
| Link to this post | posted 17 Sep, 2020 20:00 | |
|---|---|
|
|
Thanks Dan! We'll give it a shot. Tiara |
| Link to this post | posted 26 May, 2021 15:16 | |
|---|---|

|
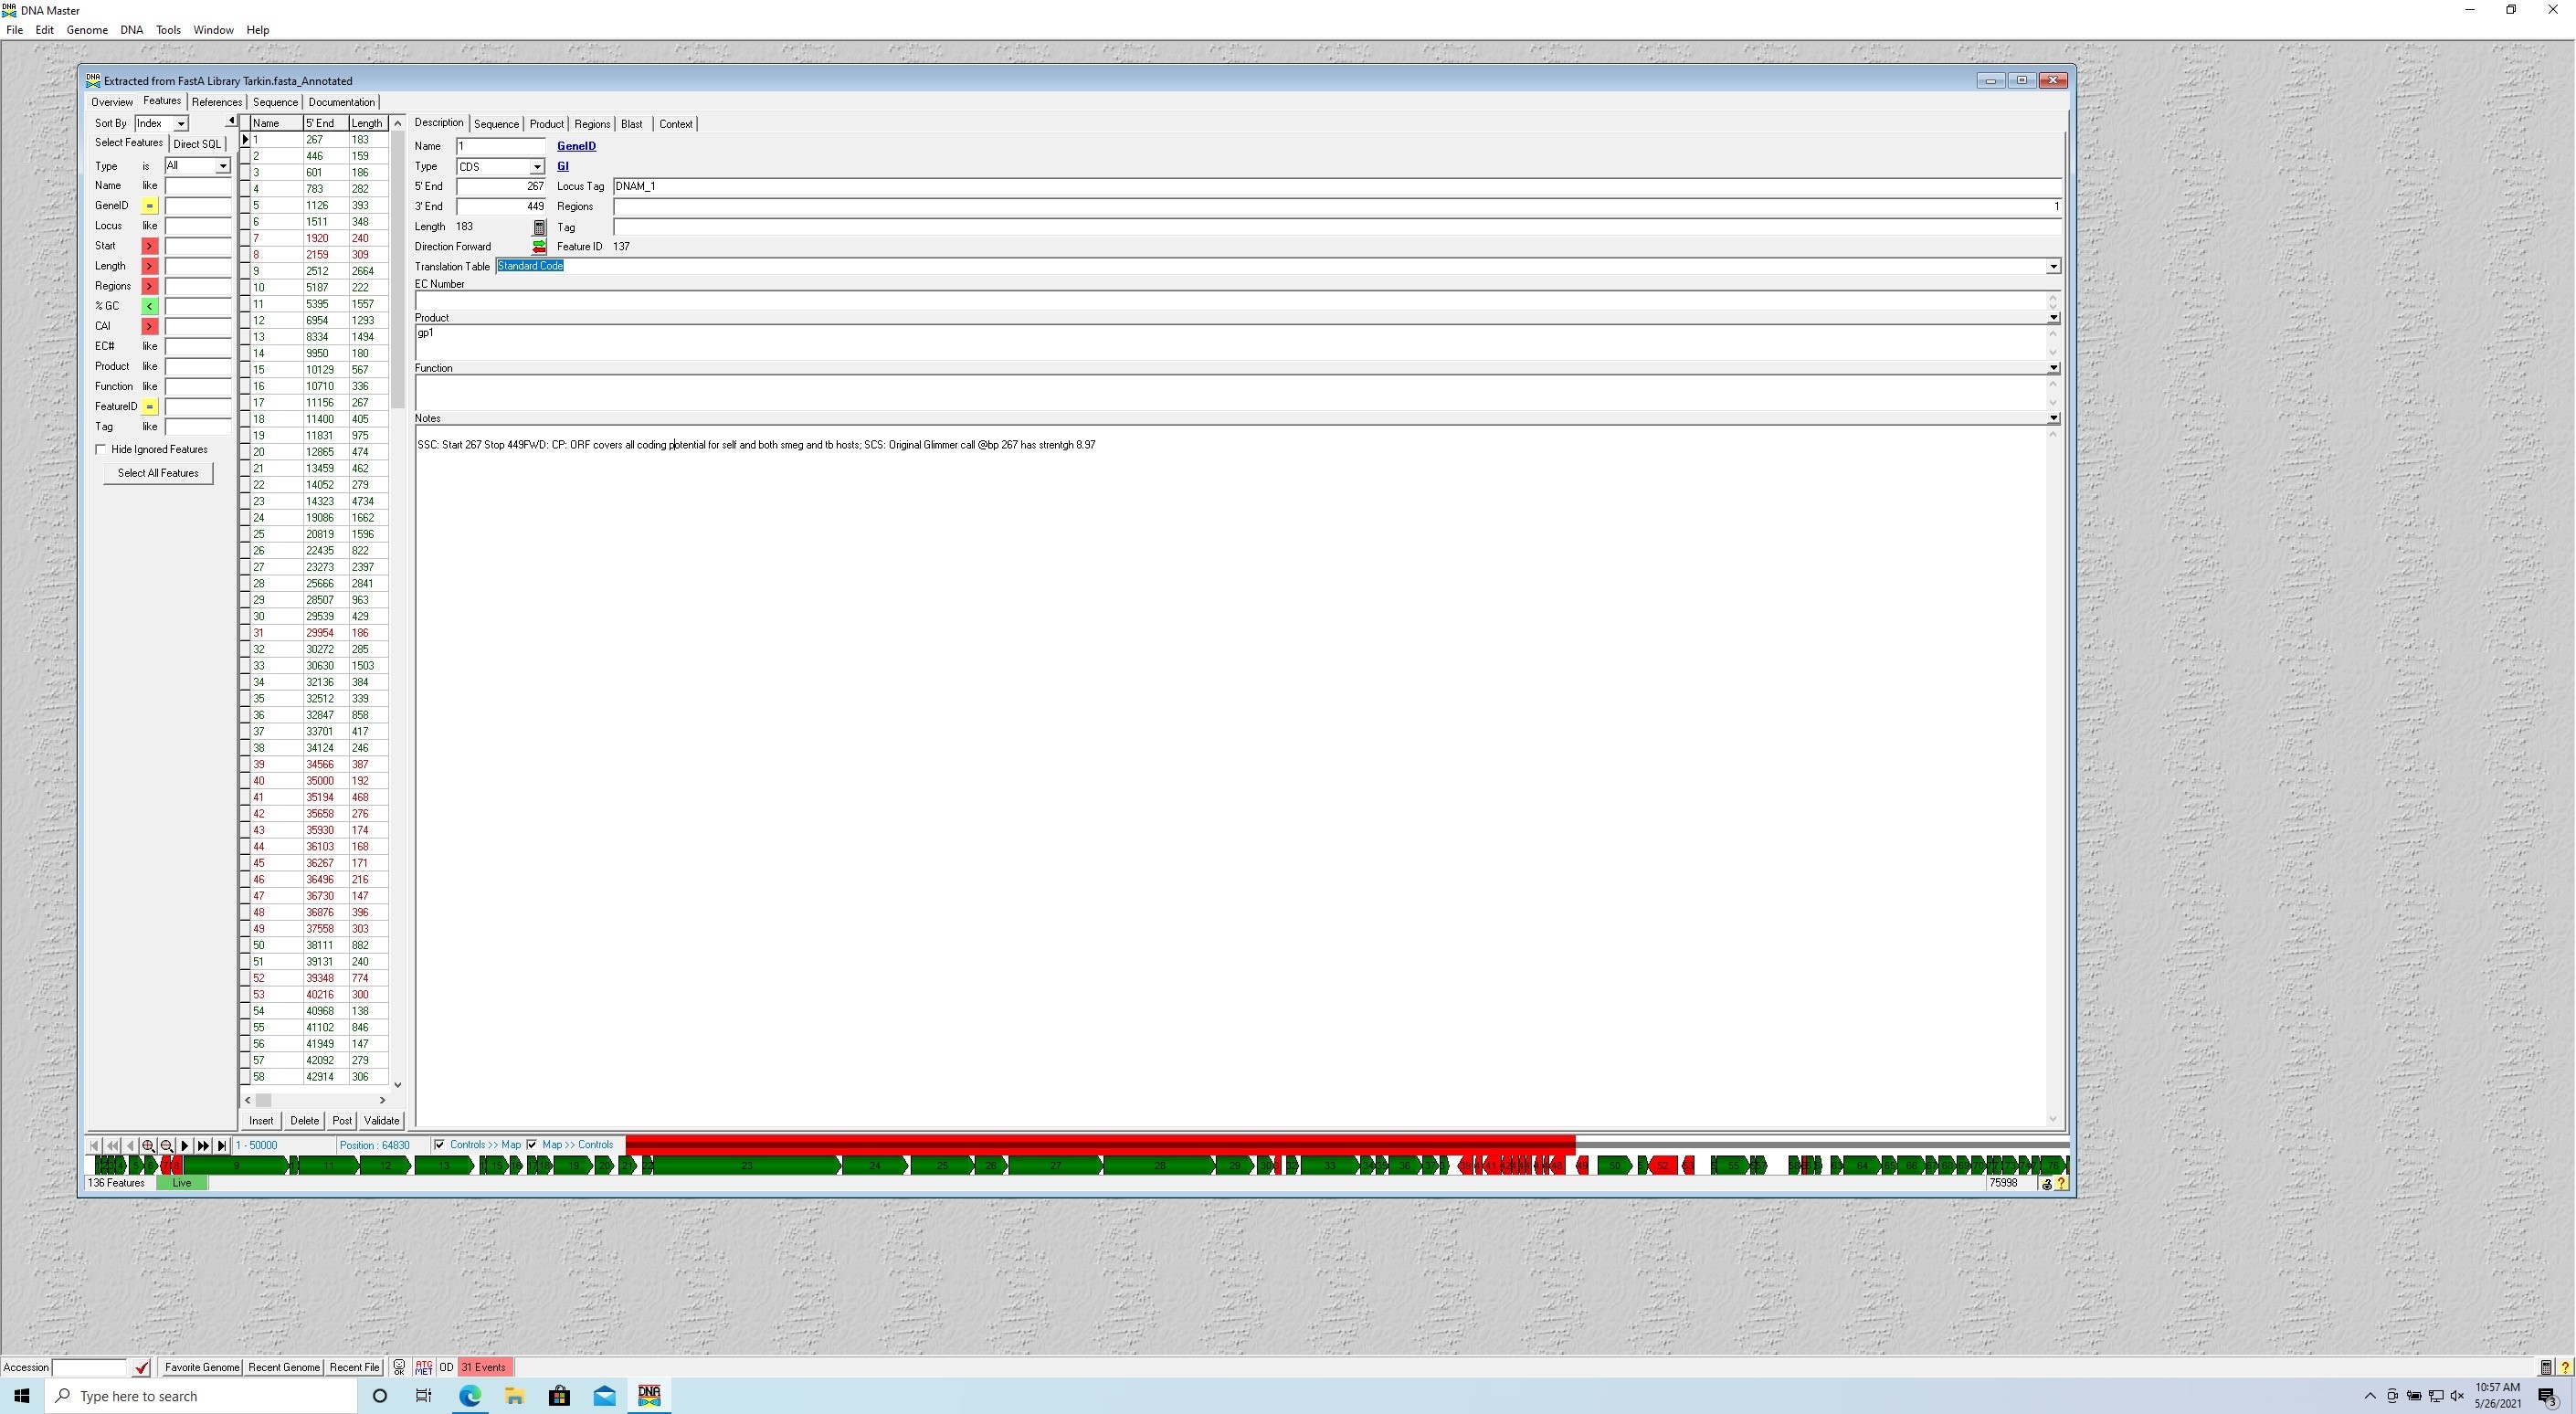
Greetings, all! My summer research students and I are having great fun with DNA Master! Both of my students have Macs and we've navigated the challenge of installing Virtual Box and Windows 10. One of my students tried to use a Mac command (a command C to copy and paste) and her DNA Master screen suddenly presented with a very small font size! Enlarging the window just enlarged the amount of white space (screenshot attached below). Any way we can restore DNA Master to its former glory? Thanks, Kathleen |
 674Kb
674Kb| Link to this post | posted 26 May, 2021 22:31 | |
|---|---|

|
Hi Kathleen, Did you shutdown the computer and restart? debbie |
| Link to this post | posted 27 May, 2021 15:06 | |
|---|---|
|
|
Hi Debbie, Amazing how re-booting can solve so many problems! Yes, that worked. I'd also like to share the solution to another problem that this same student had when she first installed DNA Master in the Virtual Box. The DNA Master was in a very tiny window, and enlarging the size of the window just enlarged the white space. Here, in her own words, is how she solved the problem: "Open virtual box and click the “view” tab on the top right of the mac screen. Click “auto-resize guest display,” and expand/minimize the window size to whatever is desired, and the window should become full screen. Make sure to click anywhere inside the virtual box before going to the Mac drop down list so that the computer knows you want settings for virtual box." Thanks for the help! Kathleen |
| Link to this post | posted 27 May, 2021 15:20 | |
|---|---|
|
|
Terrific! Thank you! |